


Salam to all readers..
Macam mana tahun baru korang??
Dah ada azam baru?
cik Dil belum fikir lagi ape azam baru cik Dil..heheh..
Yelaa, rase macam sekejap je masa berlalu..
Azam yang lepas pun, belum tertunai lagi..aduyaiii
Okey laa,
cik Dil tak nak membebel panjang lagi,
macam biasa,
untuk entry pertama cik Dil pada tahun 2011 ni,
cik Dil nak ajar korang
How to Split Toning Effect
cik Dil dapat request daripada readers cik Dil,
dia nak cik Dil ajar,
macamna nak adjust tone dalam gambar..
cik Dil tak la pro sangat bab tone ni..
So, cik Dil ajarkan basic cara nak adjust tone.
Macam biasa,
cik Dil dah sediakan tutorial yang
SIMPLE+SENANG+EASY
Hope bila korang belajar basic tone ni,
lepas ni,
boleh la korang adjust ikut kreativiti korang ye..
and kalau korang dapat tone yang superb tu,
jangan lupa, share dengan cik Dil and readers lain yer..
Sharing is Caring kan..heheh
Okey lah, kat bawah ni tutorial yang cik Dil sediakan untuk korang..
dan seperti biasa, tutorial cik Dil in ENGLISH
BEFORE

AFTER

STEP 1
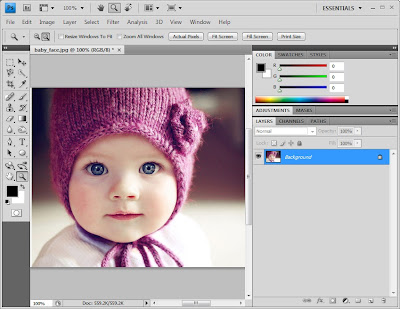
Open your image in Adobe Photoshop
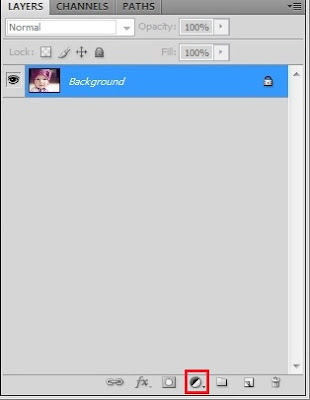
STEP 2
In the layers palette, click on the new adjustment layer button and choose black and white.

STEP 3
After that, choose color balance on the new adjustment layer button
First, choose Highlights option and use the settings below


STEP 4
Second, choose Shadows option and use the settings below


STEP 5
Add a Hue/Saturation adjustment layer
use the settings below


STEP 6
Lastly, click at the layer visibility to invisible the layer


Done.. ~_^
nota kaki:
Dah siap pun toning effect..
Senang jer kan..
Lepas ni, cik Dil harap korang semua boleh laa apply effect ni kat picture korang..
SEBARANG KOMEN DAN KRITIKAN AMATLAH CIK DIL HARGAI
cntik sgt ! suke..cme x de ps..cmne nk instll ps cm kmu ?? help pliz..:((
ReplyDeletealhamdulillah,jadi...
ReplyDeletesis, camne nak blurkan background and lebih fokus pd object? hmm .
ReplyDeletethanks sys,dh jdy..
ReplyDelete