Salam semua..
Tutorial kali ini adalah
How to Create A Vintage Photo Effect
Tutorial ini Dil buat in english..
Selamat mencuba.
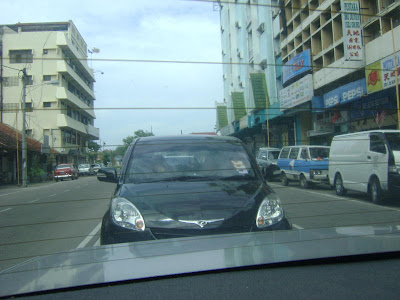
BEFORE

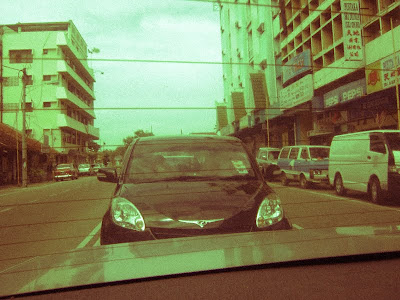
AFTER

STEP 1:
Open your picture using Adobe Photoshop

STEP 2:
Duplicate the background layer.
Layer ->duplicate
or just press Ctrl+J
STEP 3:
Set your foreground and background colors respectively to #ff0000 and #00ff00
STEP 4:
With the newly created layer use a Gradient Map
Image -> Adjustment -> Gradient Map

STEP 5:
On the same layer, use Blending Options
Layer -> Layer Style -> Blending Options
or just
Right click on the layer, and choose Blending Options
STEP 6:
Select Blend Mode to Color and Opacity to 50%

STEP 7:
Flatten the image
Layer -> Flatten Image
STEP 8:
Apply an Add Noise filter to the only layer you should have
Filter -> Noise -> Add Noise
Set the filter with 2% Gaussian Monochromatic values


Done.. =)
nota kaki: senang kan kwn2.. So natii, lauu korang free, try laa edit picture guna effect nii..cantikk..
Credit to: Kereta Farah..hohoo


good tutorial! hehehe
ReplyDeleteheheh..tq!!!
ReplyDeletei like it cik dill
ReplyDeletei dah try..jadi..suka suka suka..
ReplyDeletethanx for the tutorial.. :)
tutorial 2..
ReplyDelete;)
hahha..
ReplyDeletejadi..
thanx cik dil..
ekekeke
kak dil, ni photoshop apa??? xsma laa
ReplyDelete;((((